
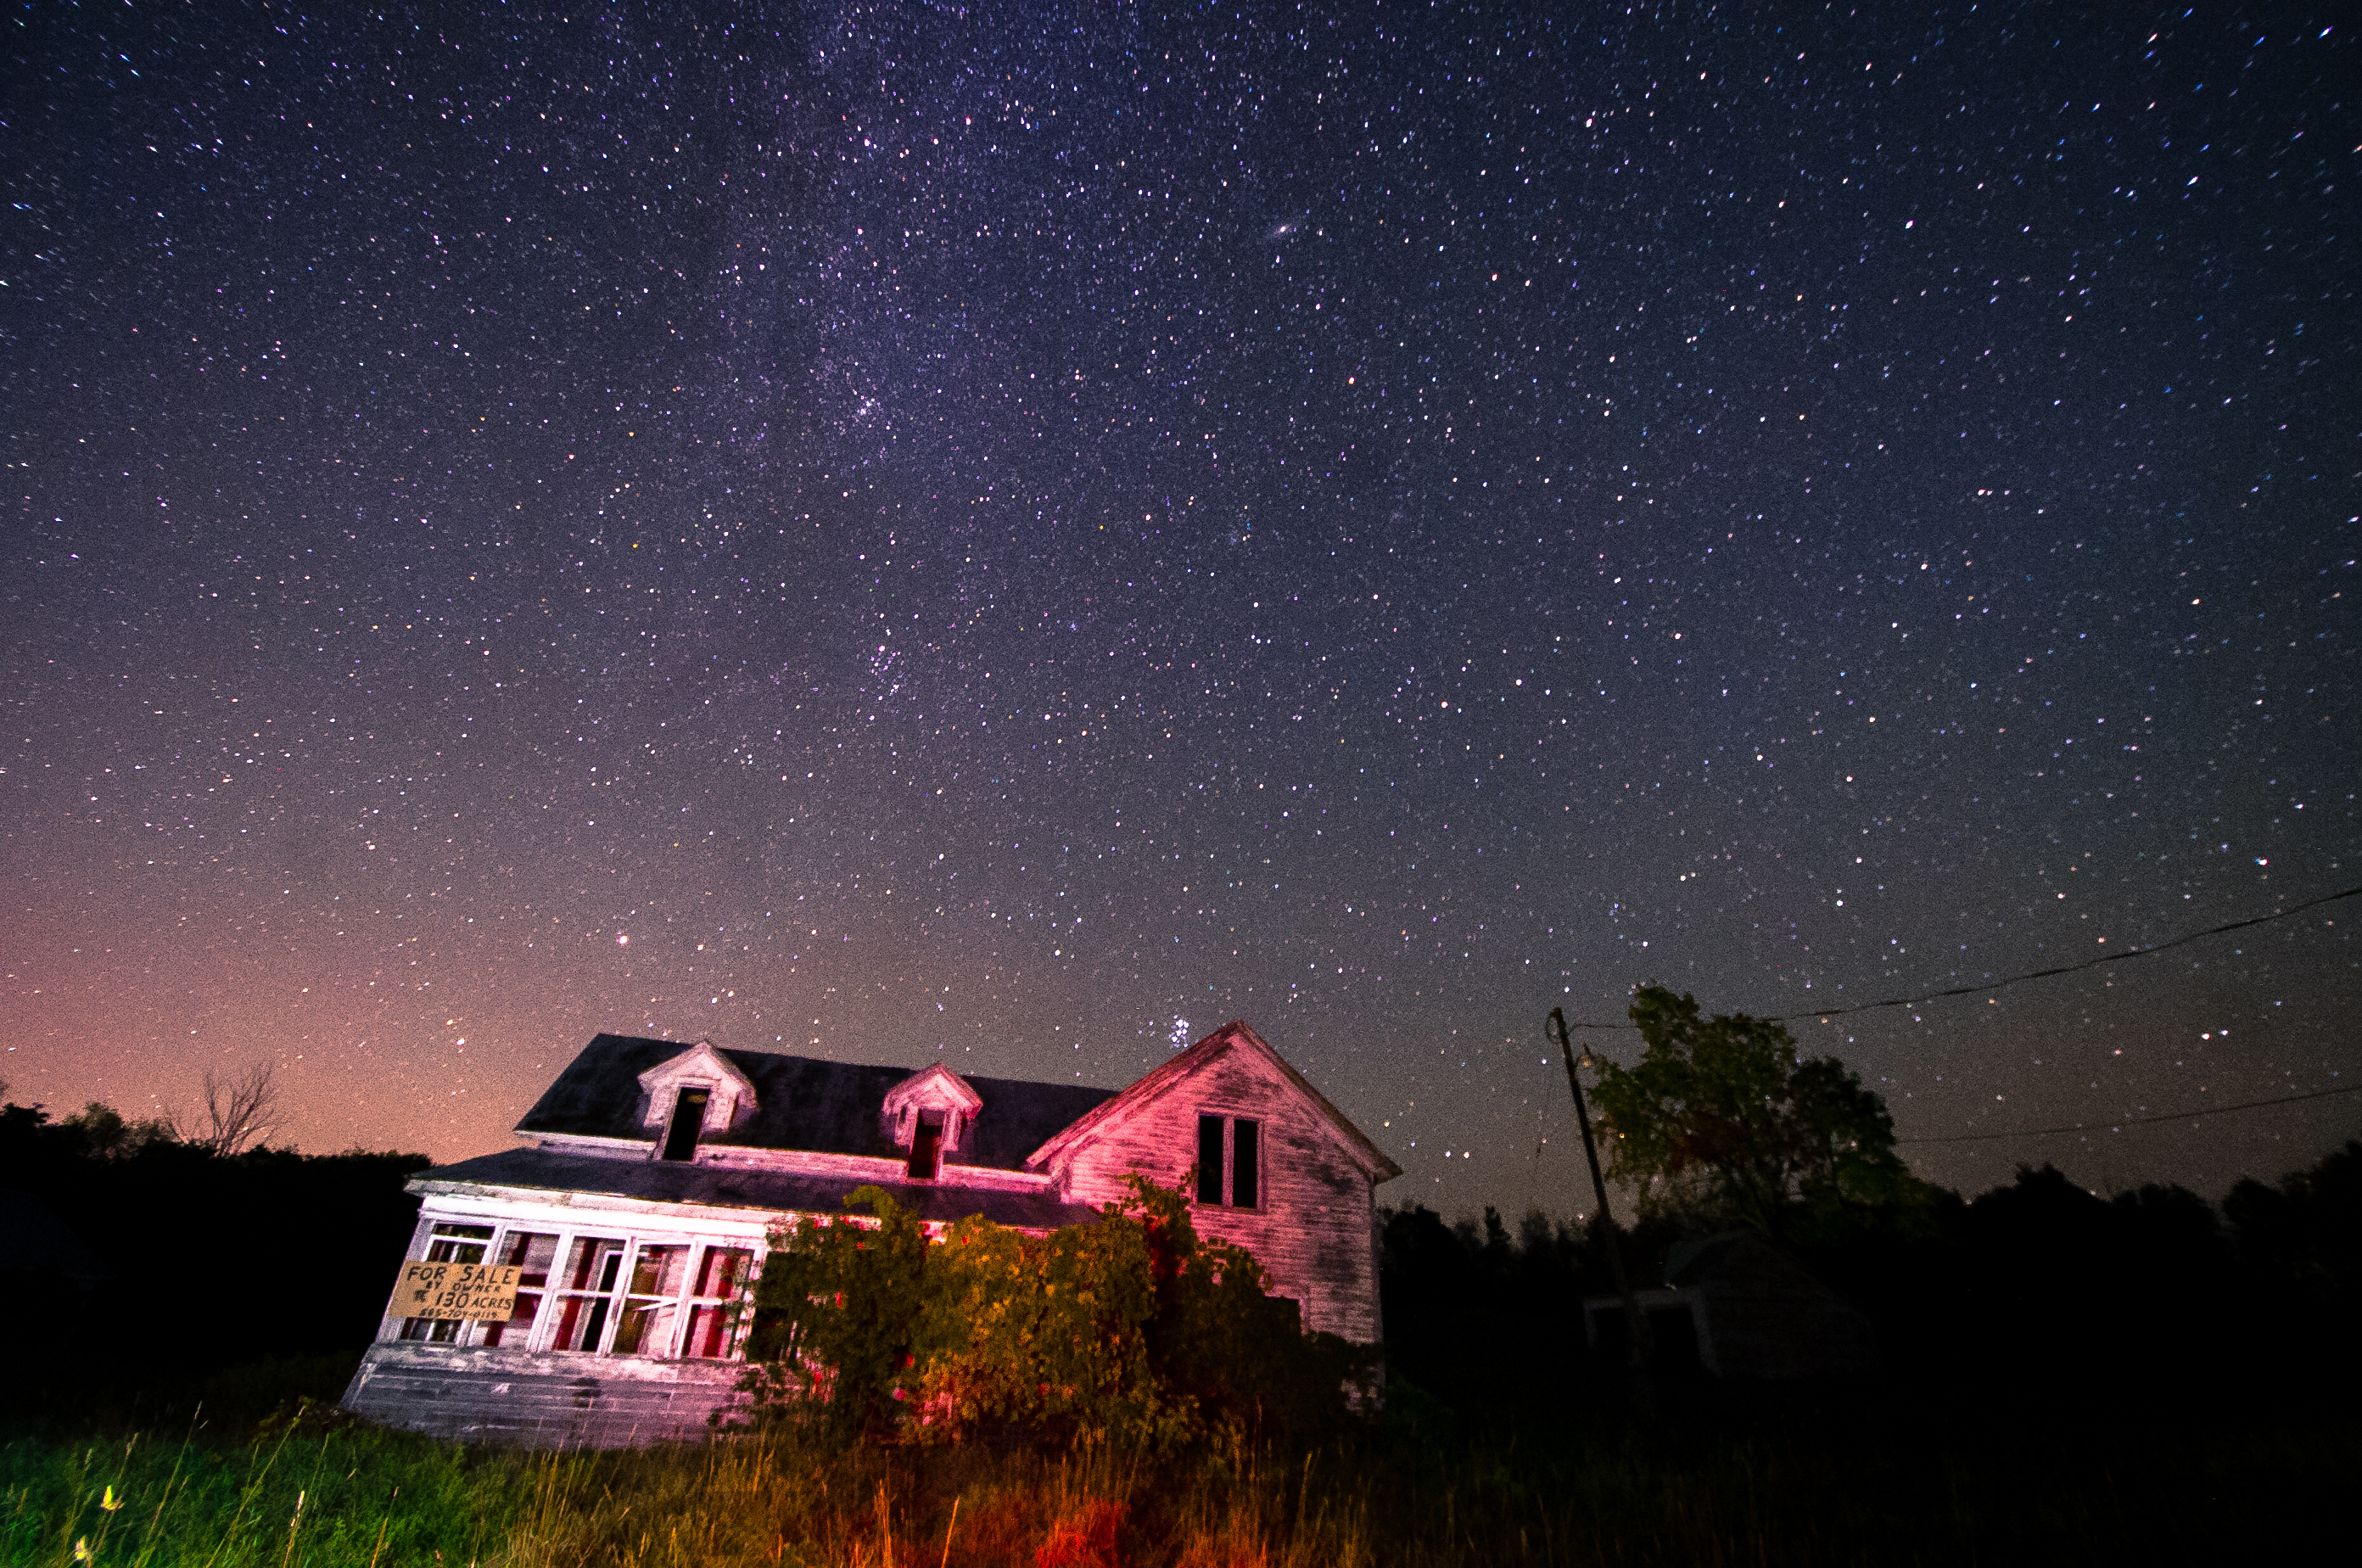
The Milky Way over an abandoned house in Pyrites. Photo: Nick Zachara
Star Photography
For the past year I’ve been experimenting with night sky photography. I'm originally from suburban New Jersey, which is incredibly unfavorable for star photography -- you can hardly see the stars due to light pollution. But the clarity and perfection of the night sky around Canton, and near my family's camp in North Creek, inspired me to try capturing it on camera.
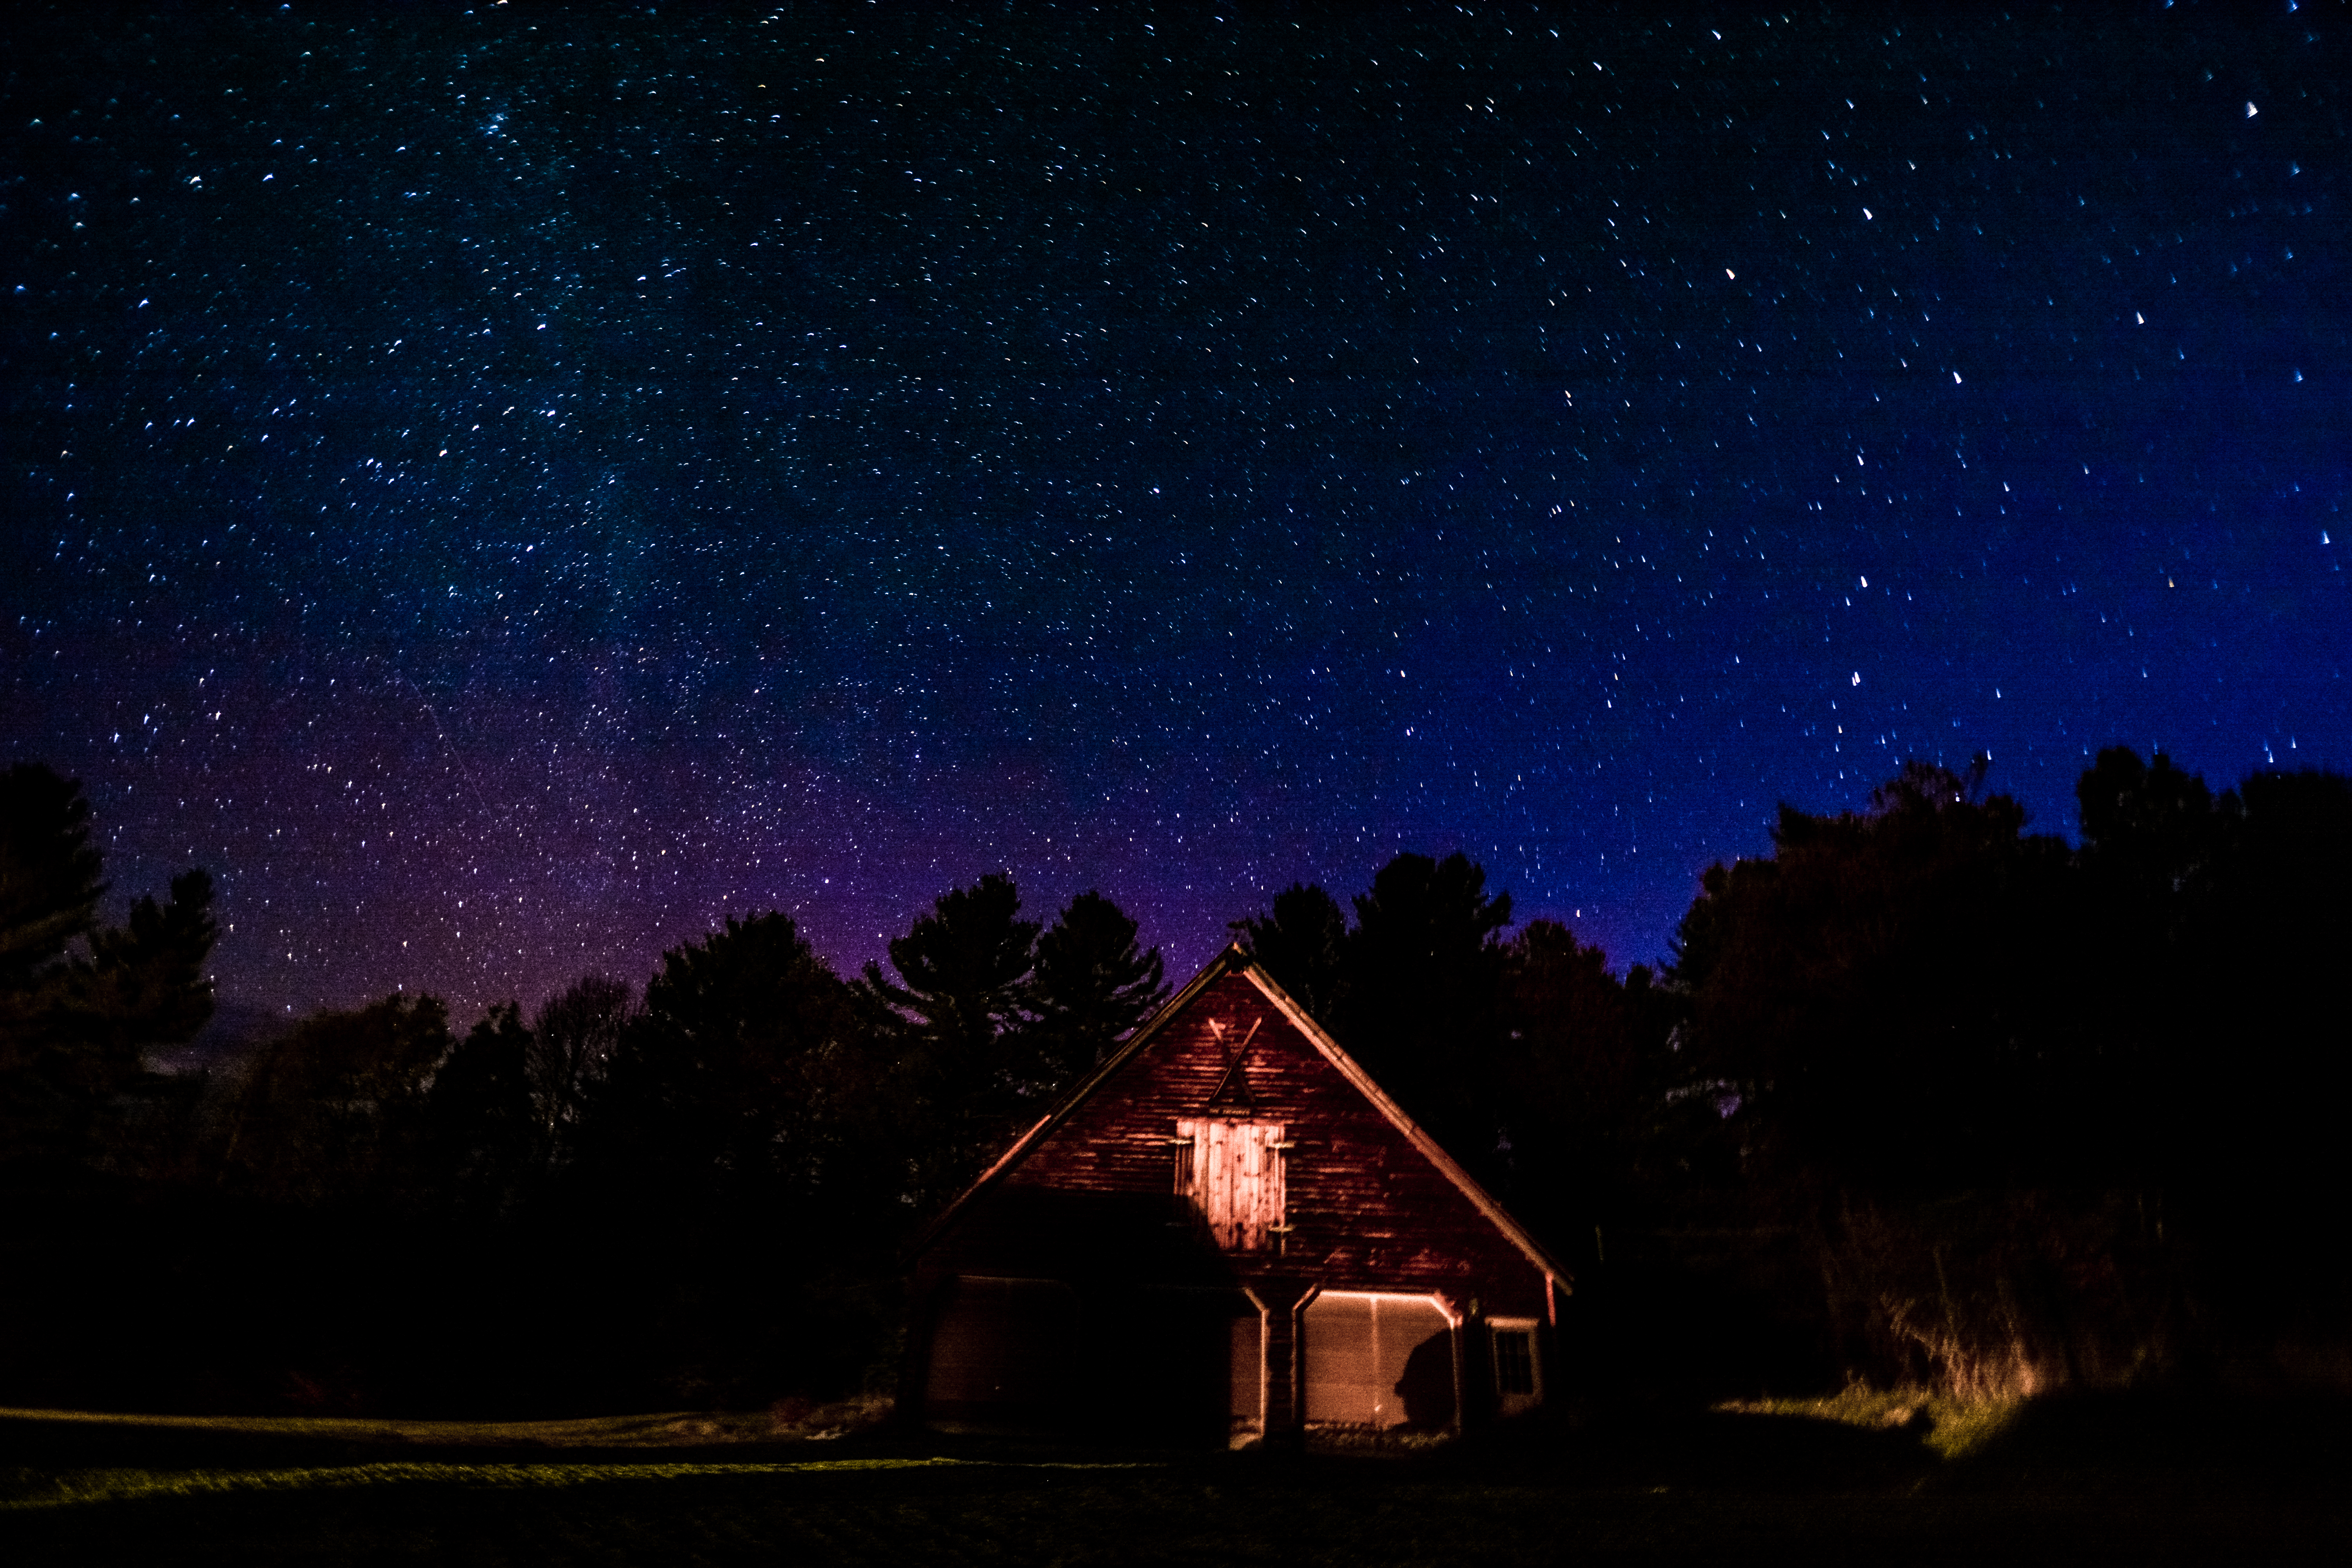
In October 2015, at our house in the Adirondacks, I had my first go at it on a clear night.
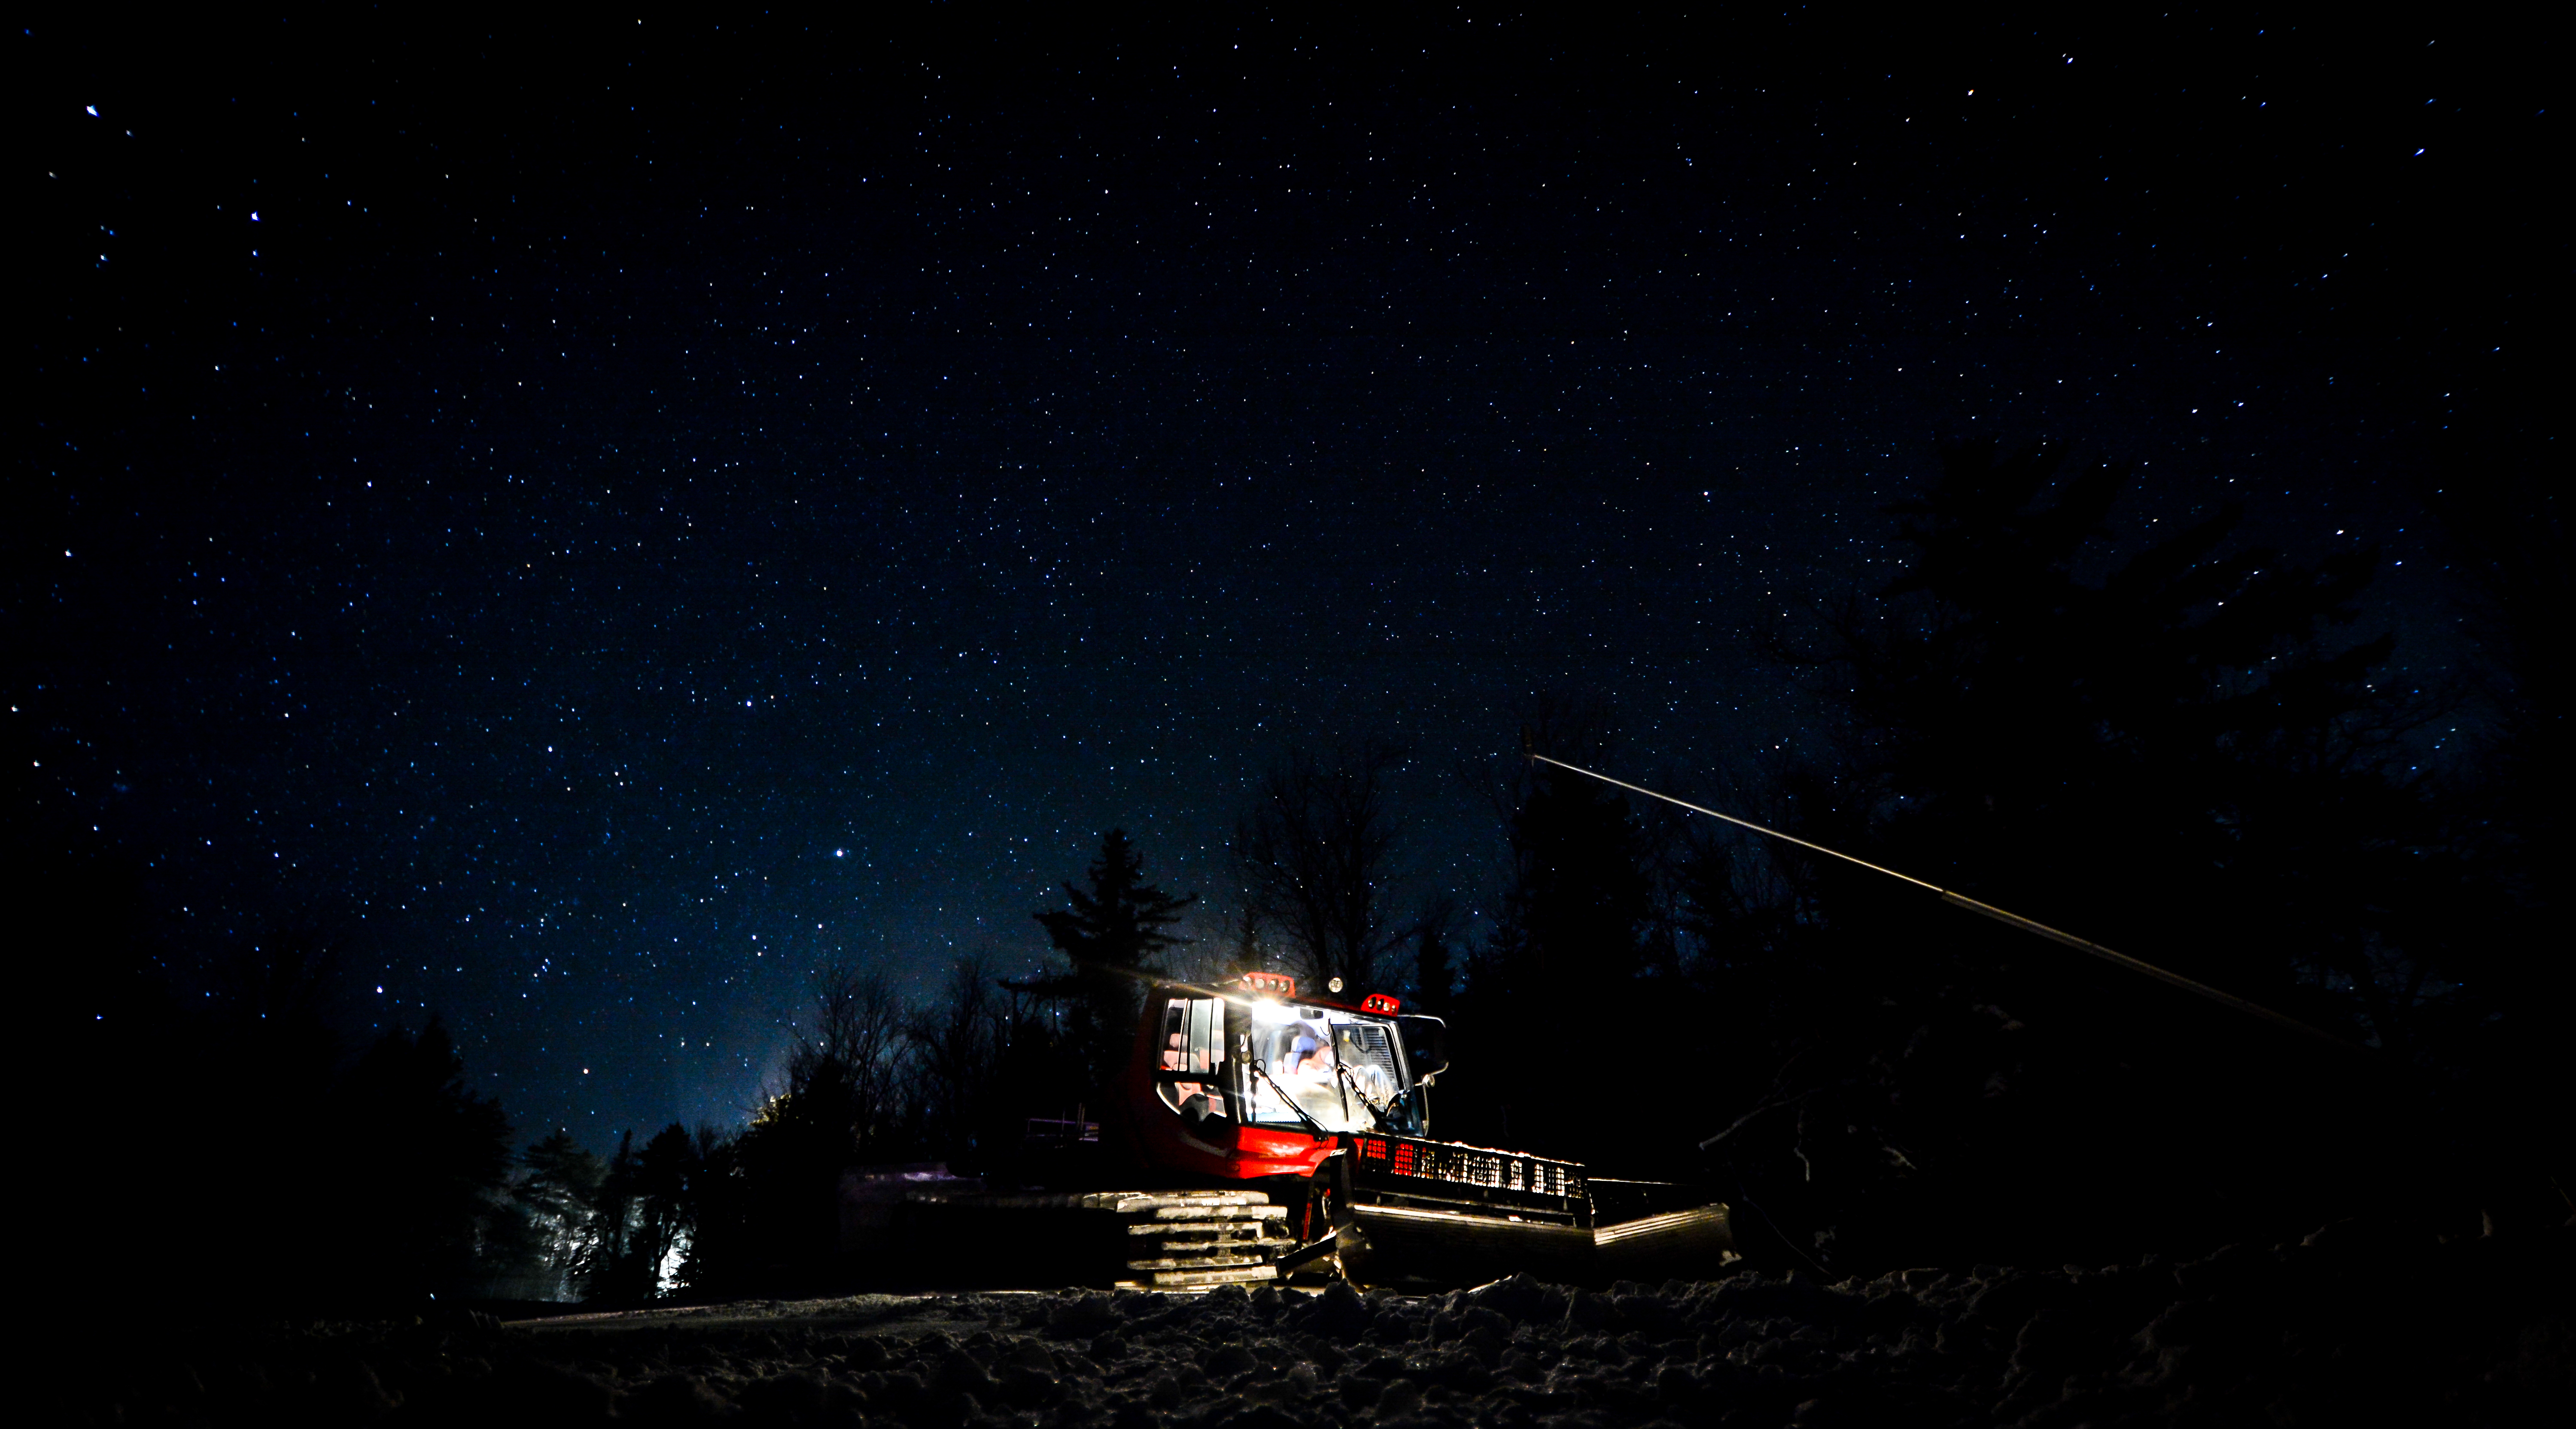
I tried again last January while working one of my shifts at Gore Mt. in North Creek as a snowcat operator. It came out pretty well, especially given the circumstances (4:37am, 7 degrees).
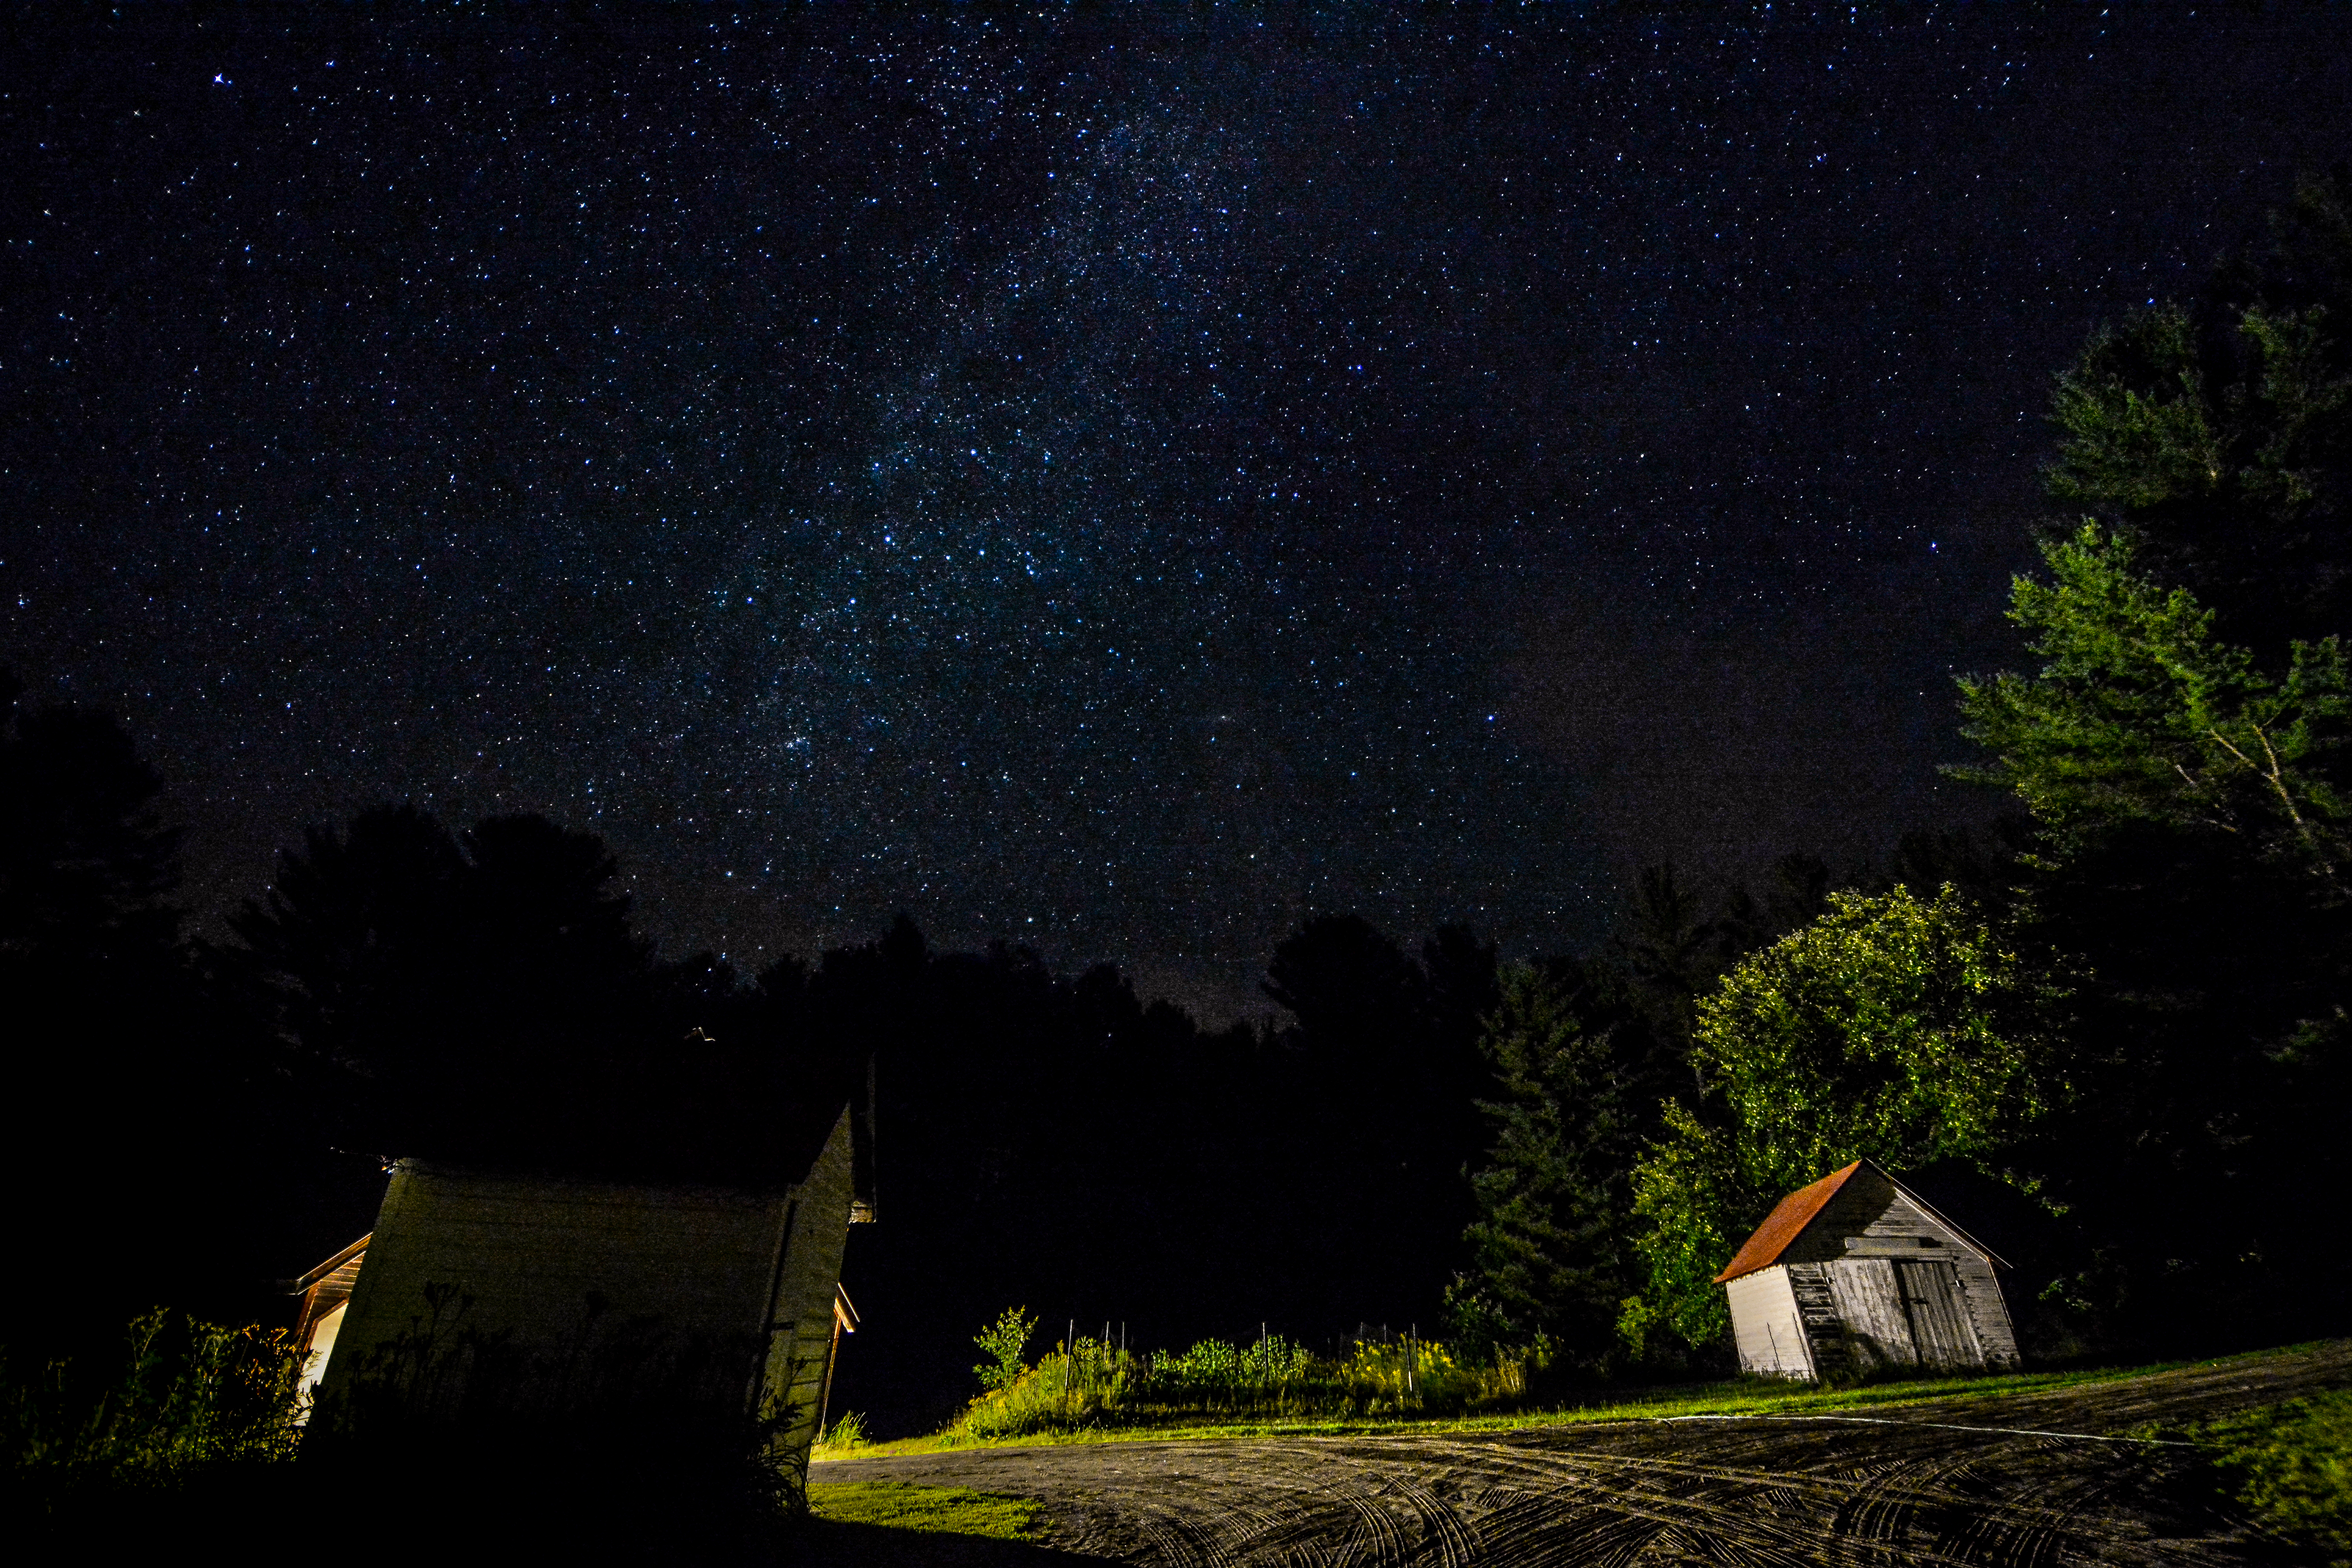
This summer, I attempted again at out house. I was starting to get the hang of things, while beginning to add more context in the foreground.
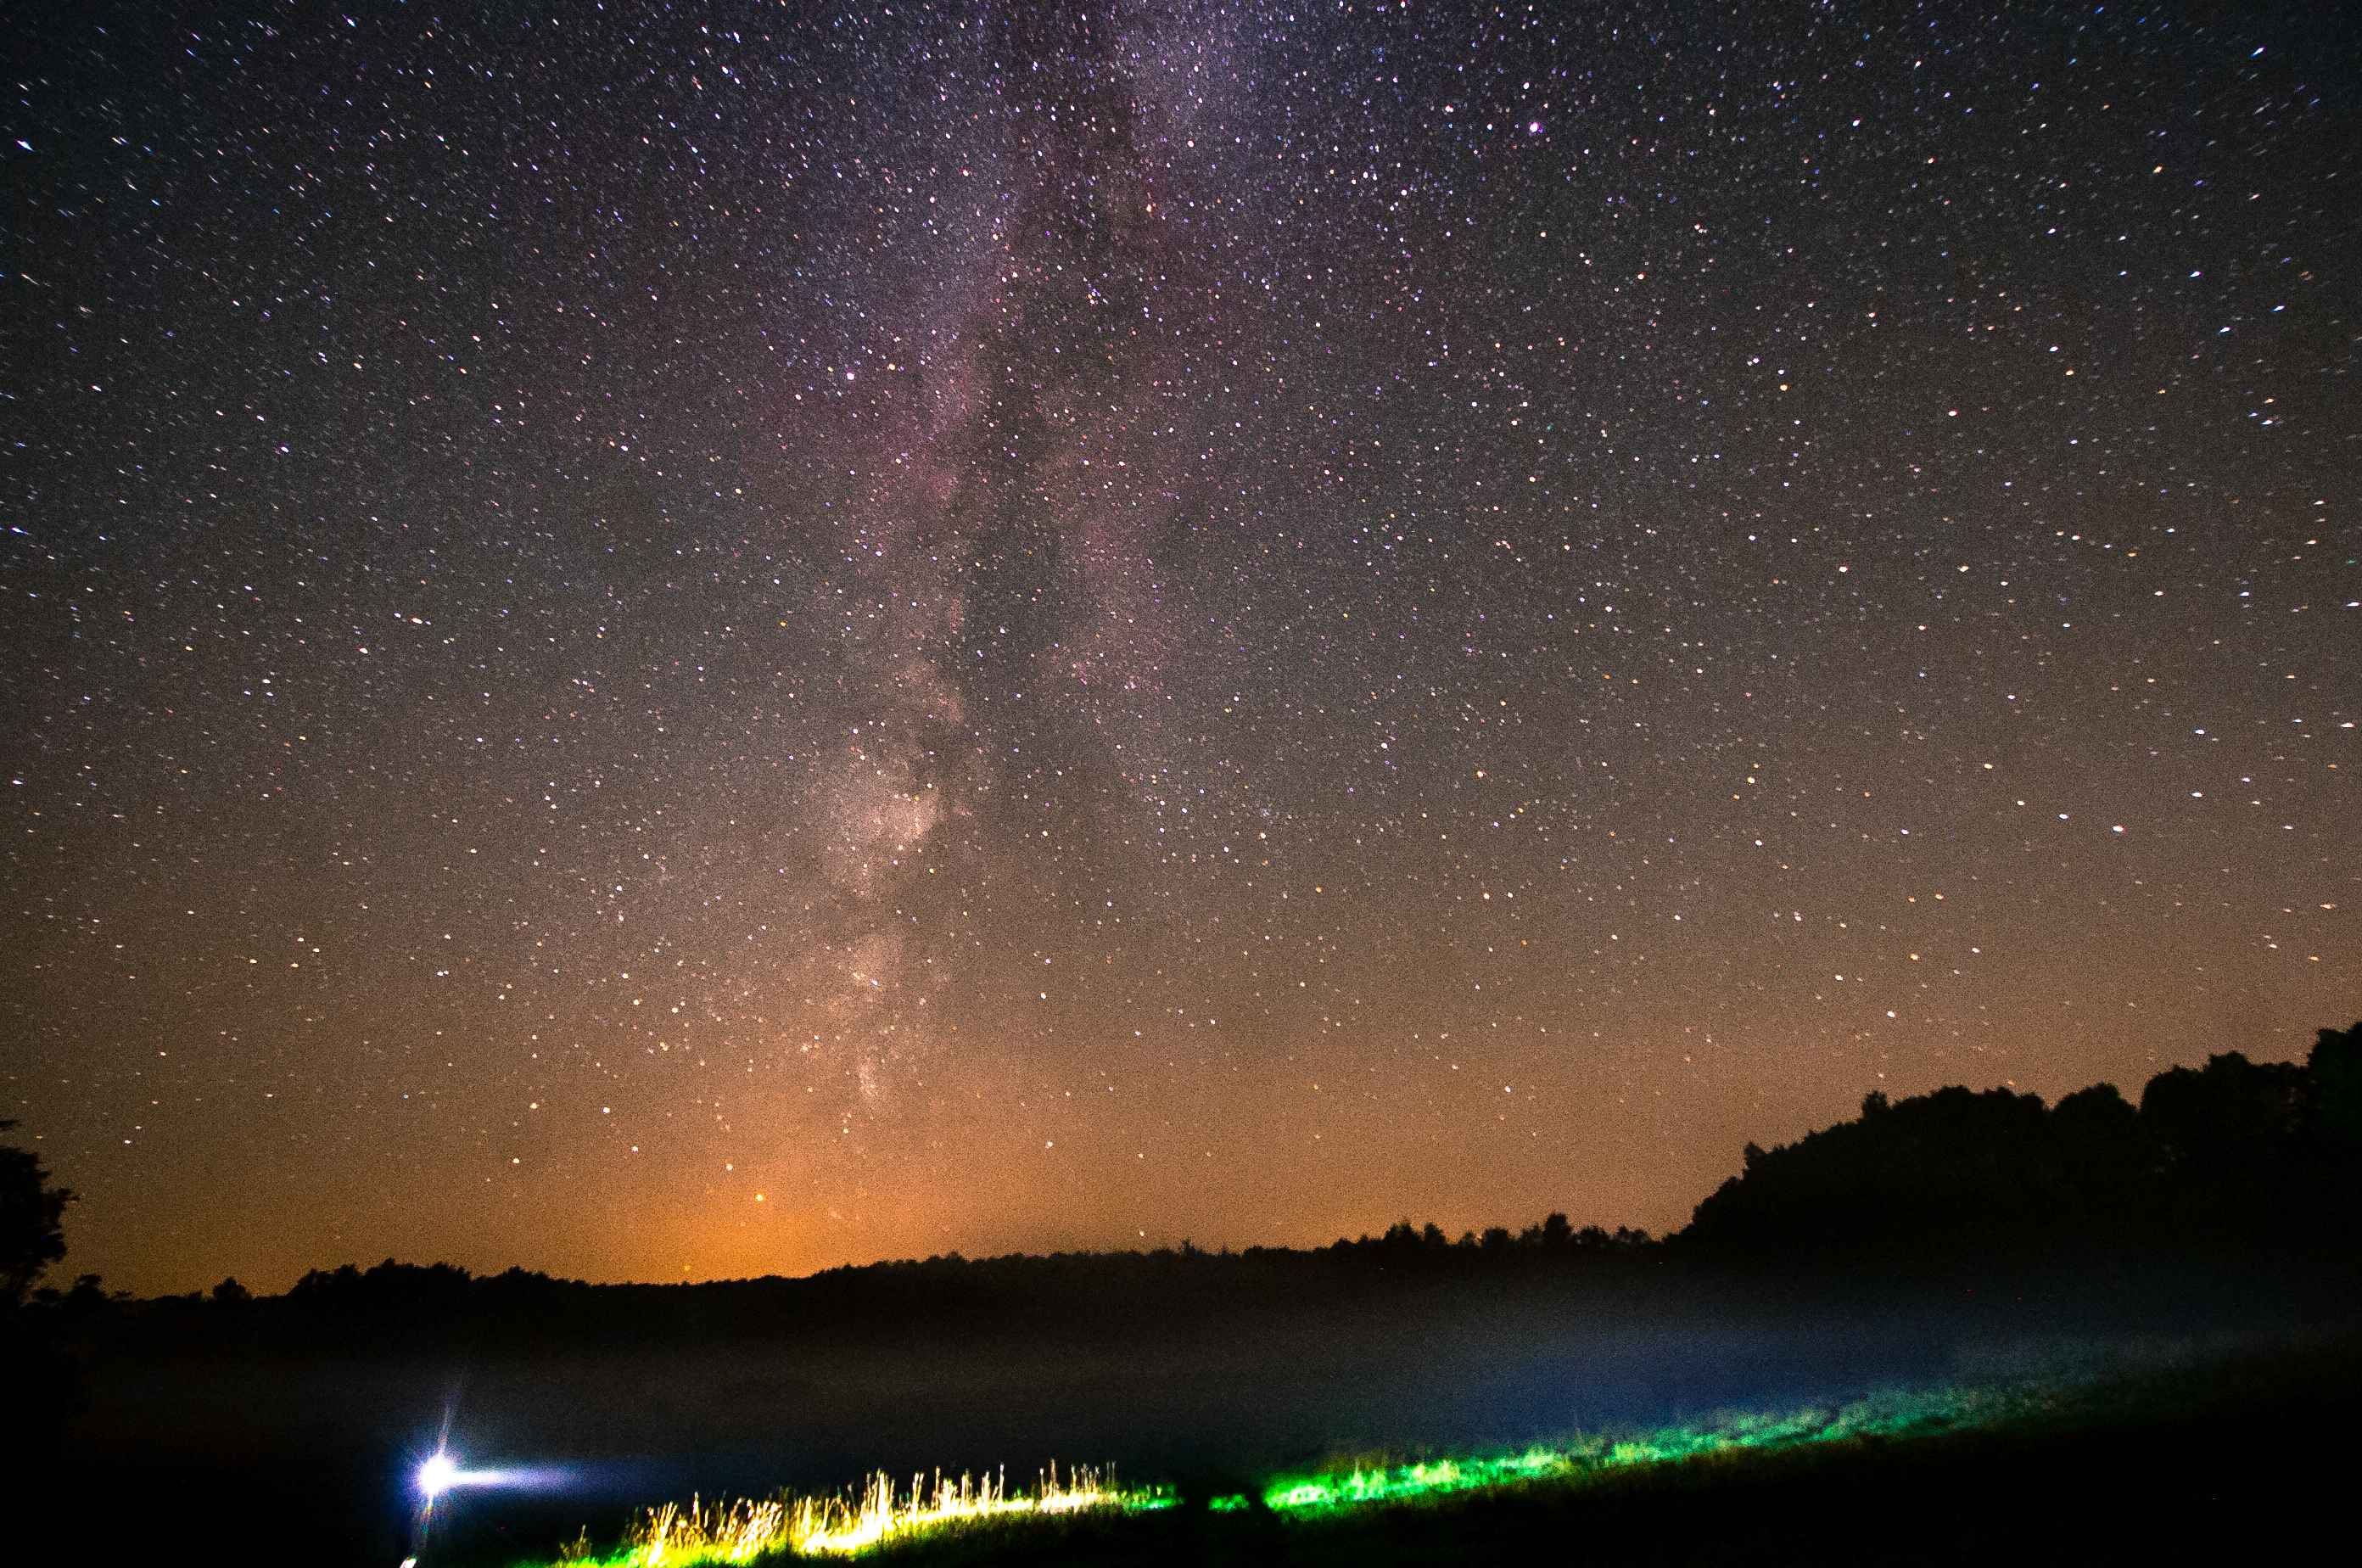
Finally, back up in the North Country where the star gazing is unbelievable (once you get out of town a couple miles). I shot these near Pyrites.
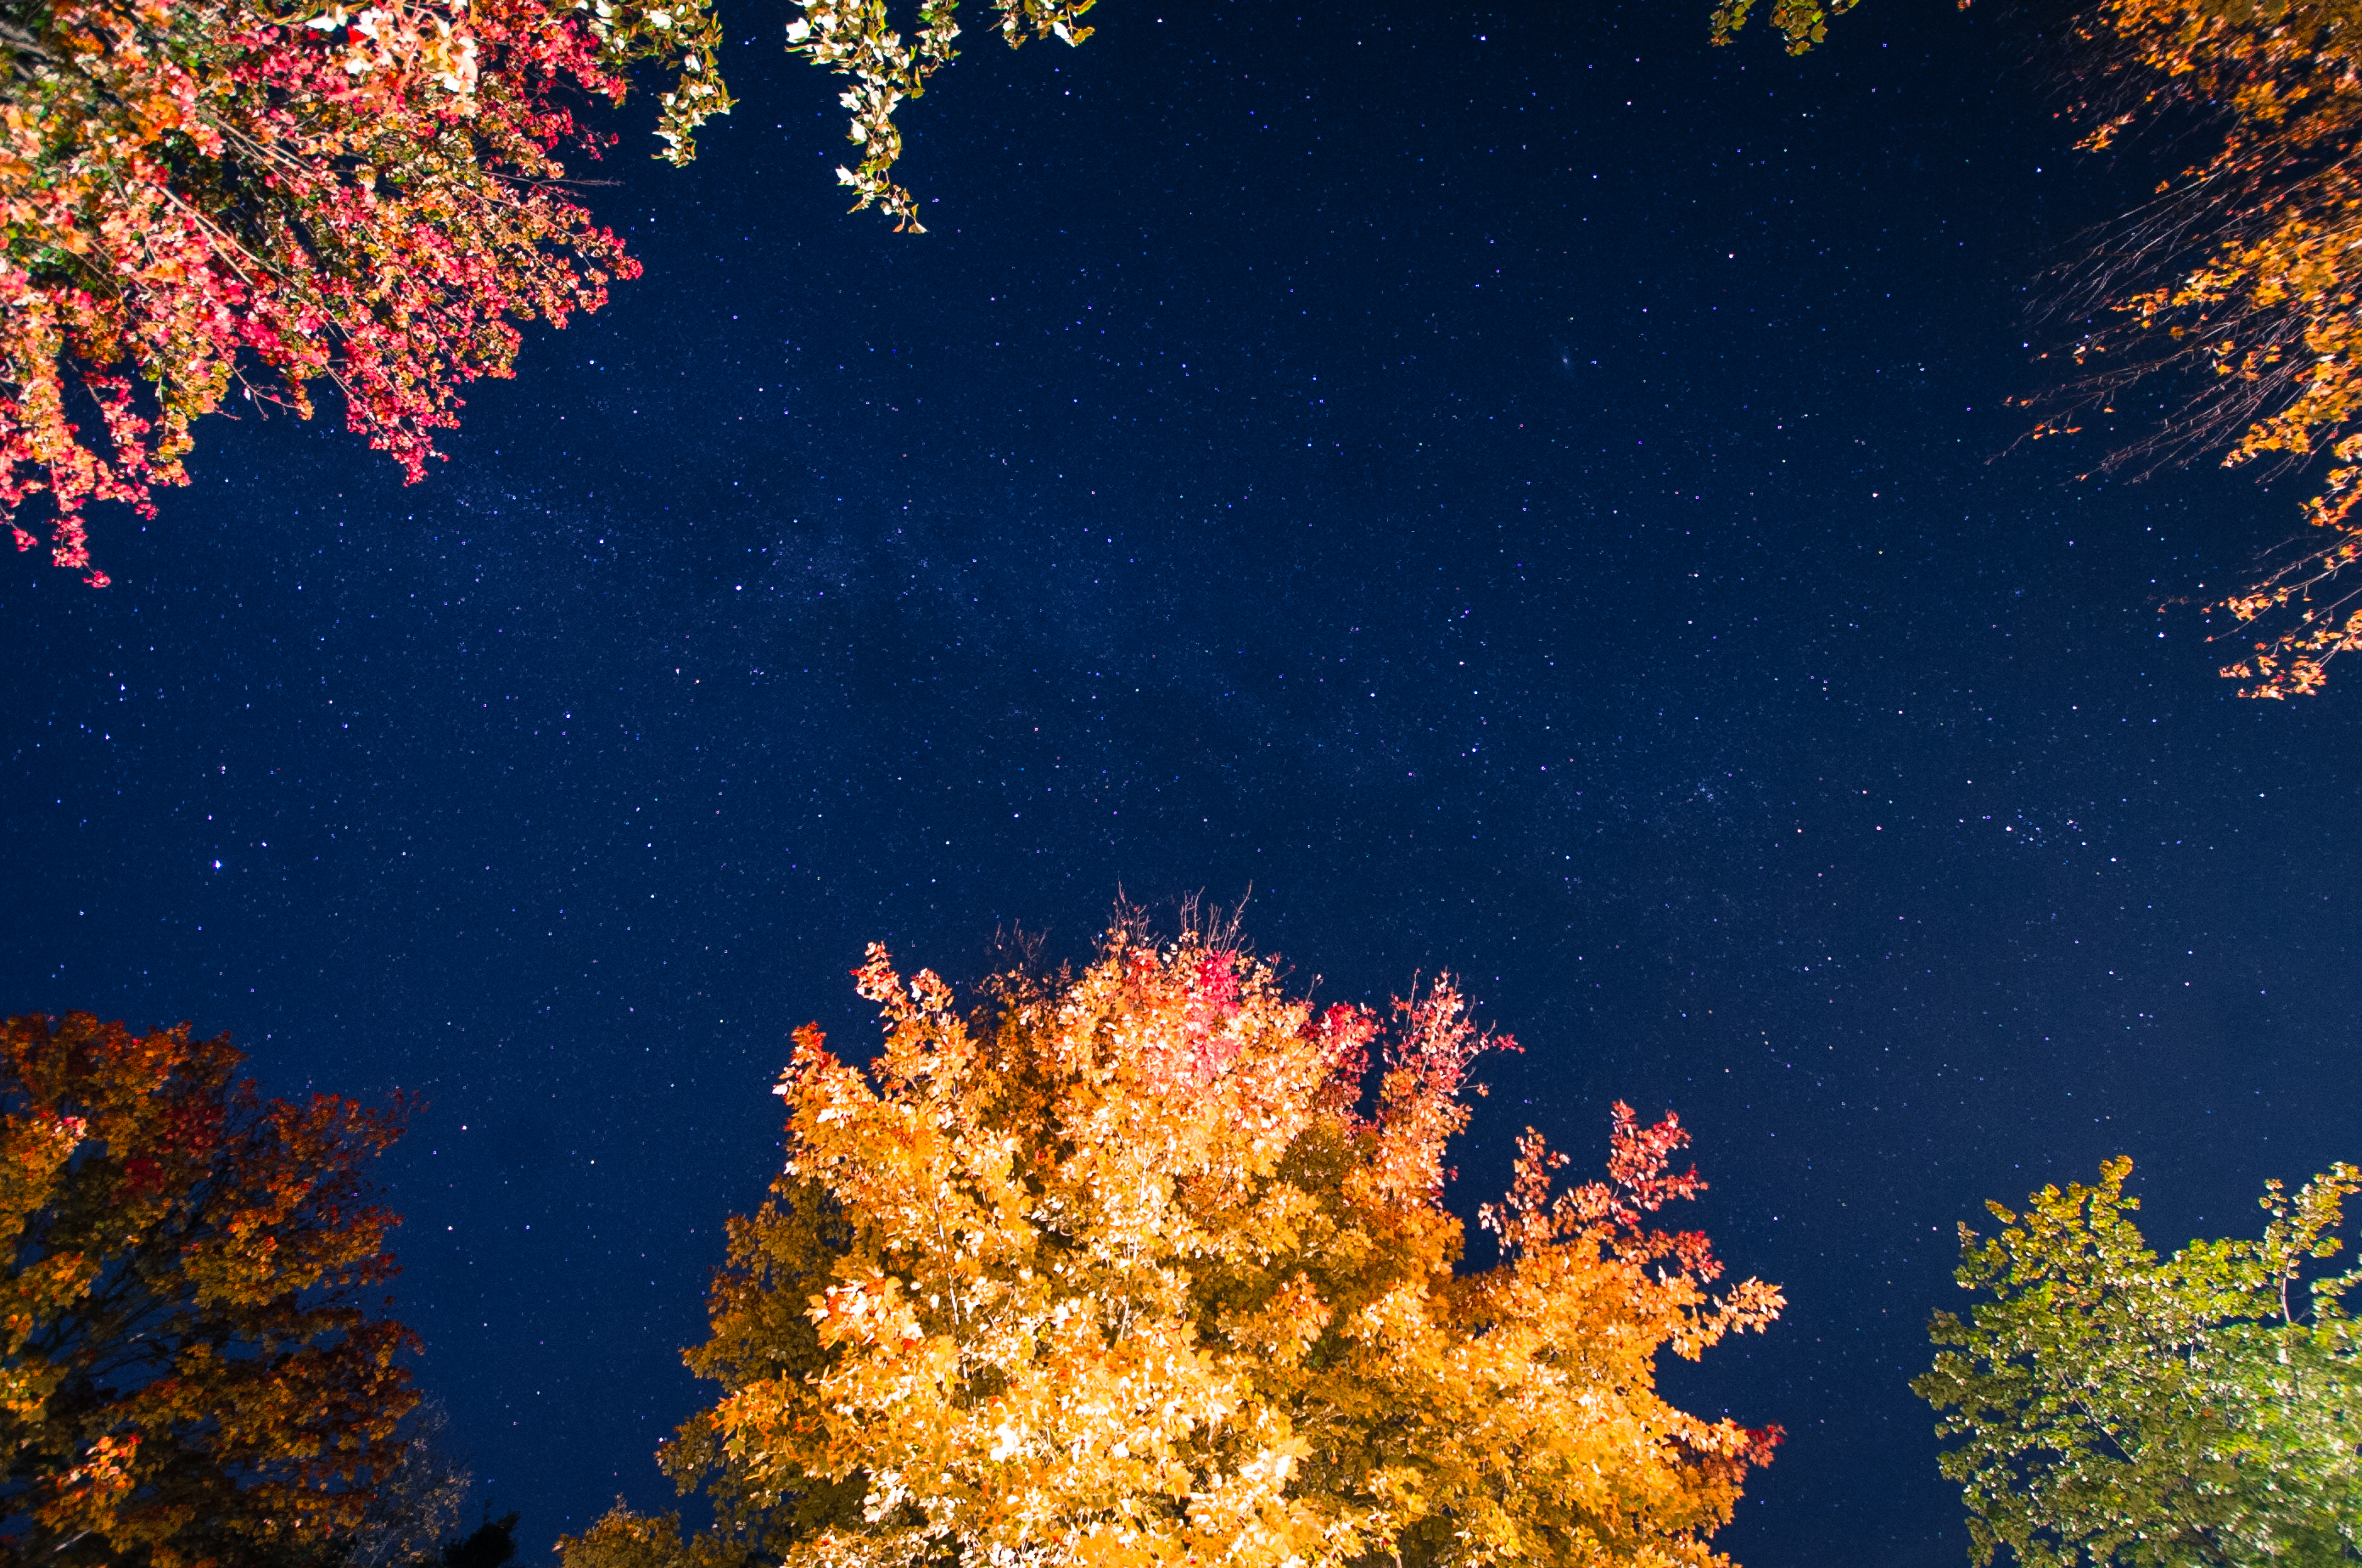
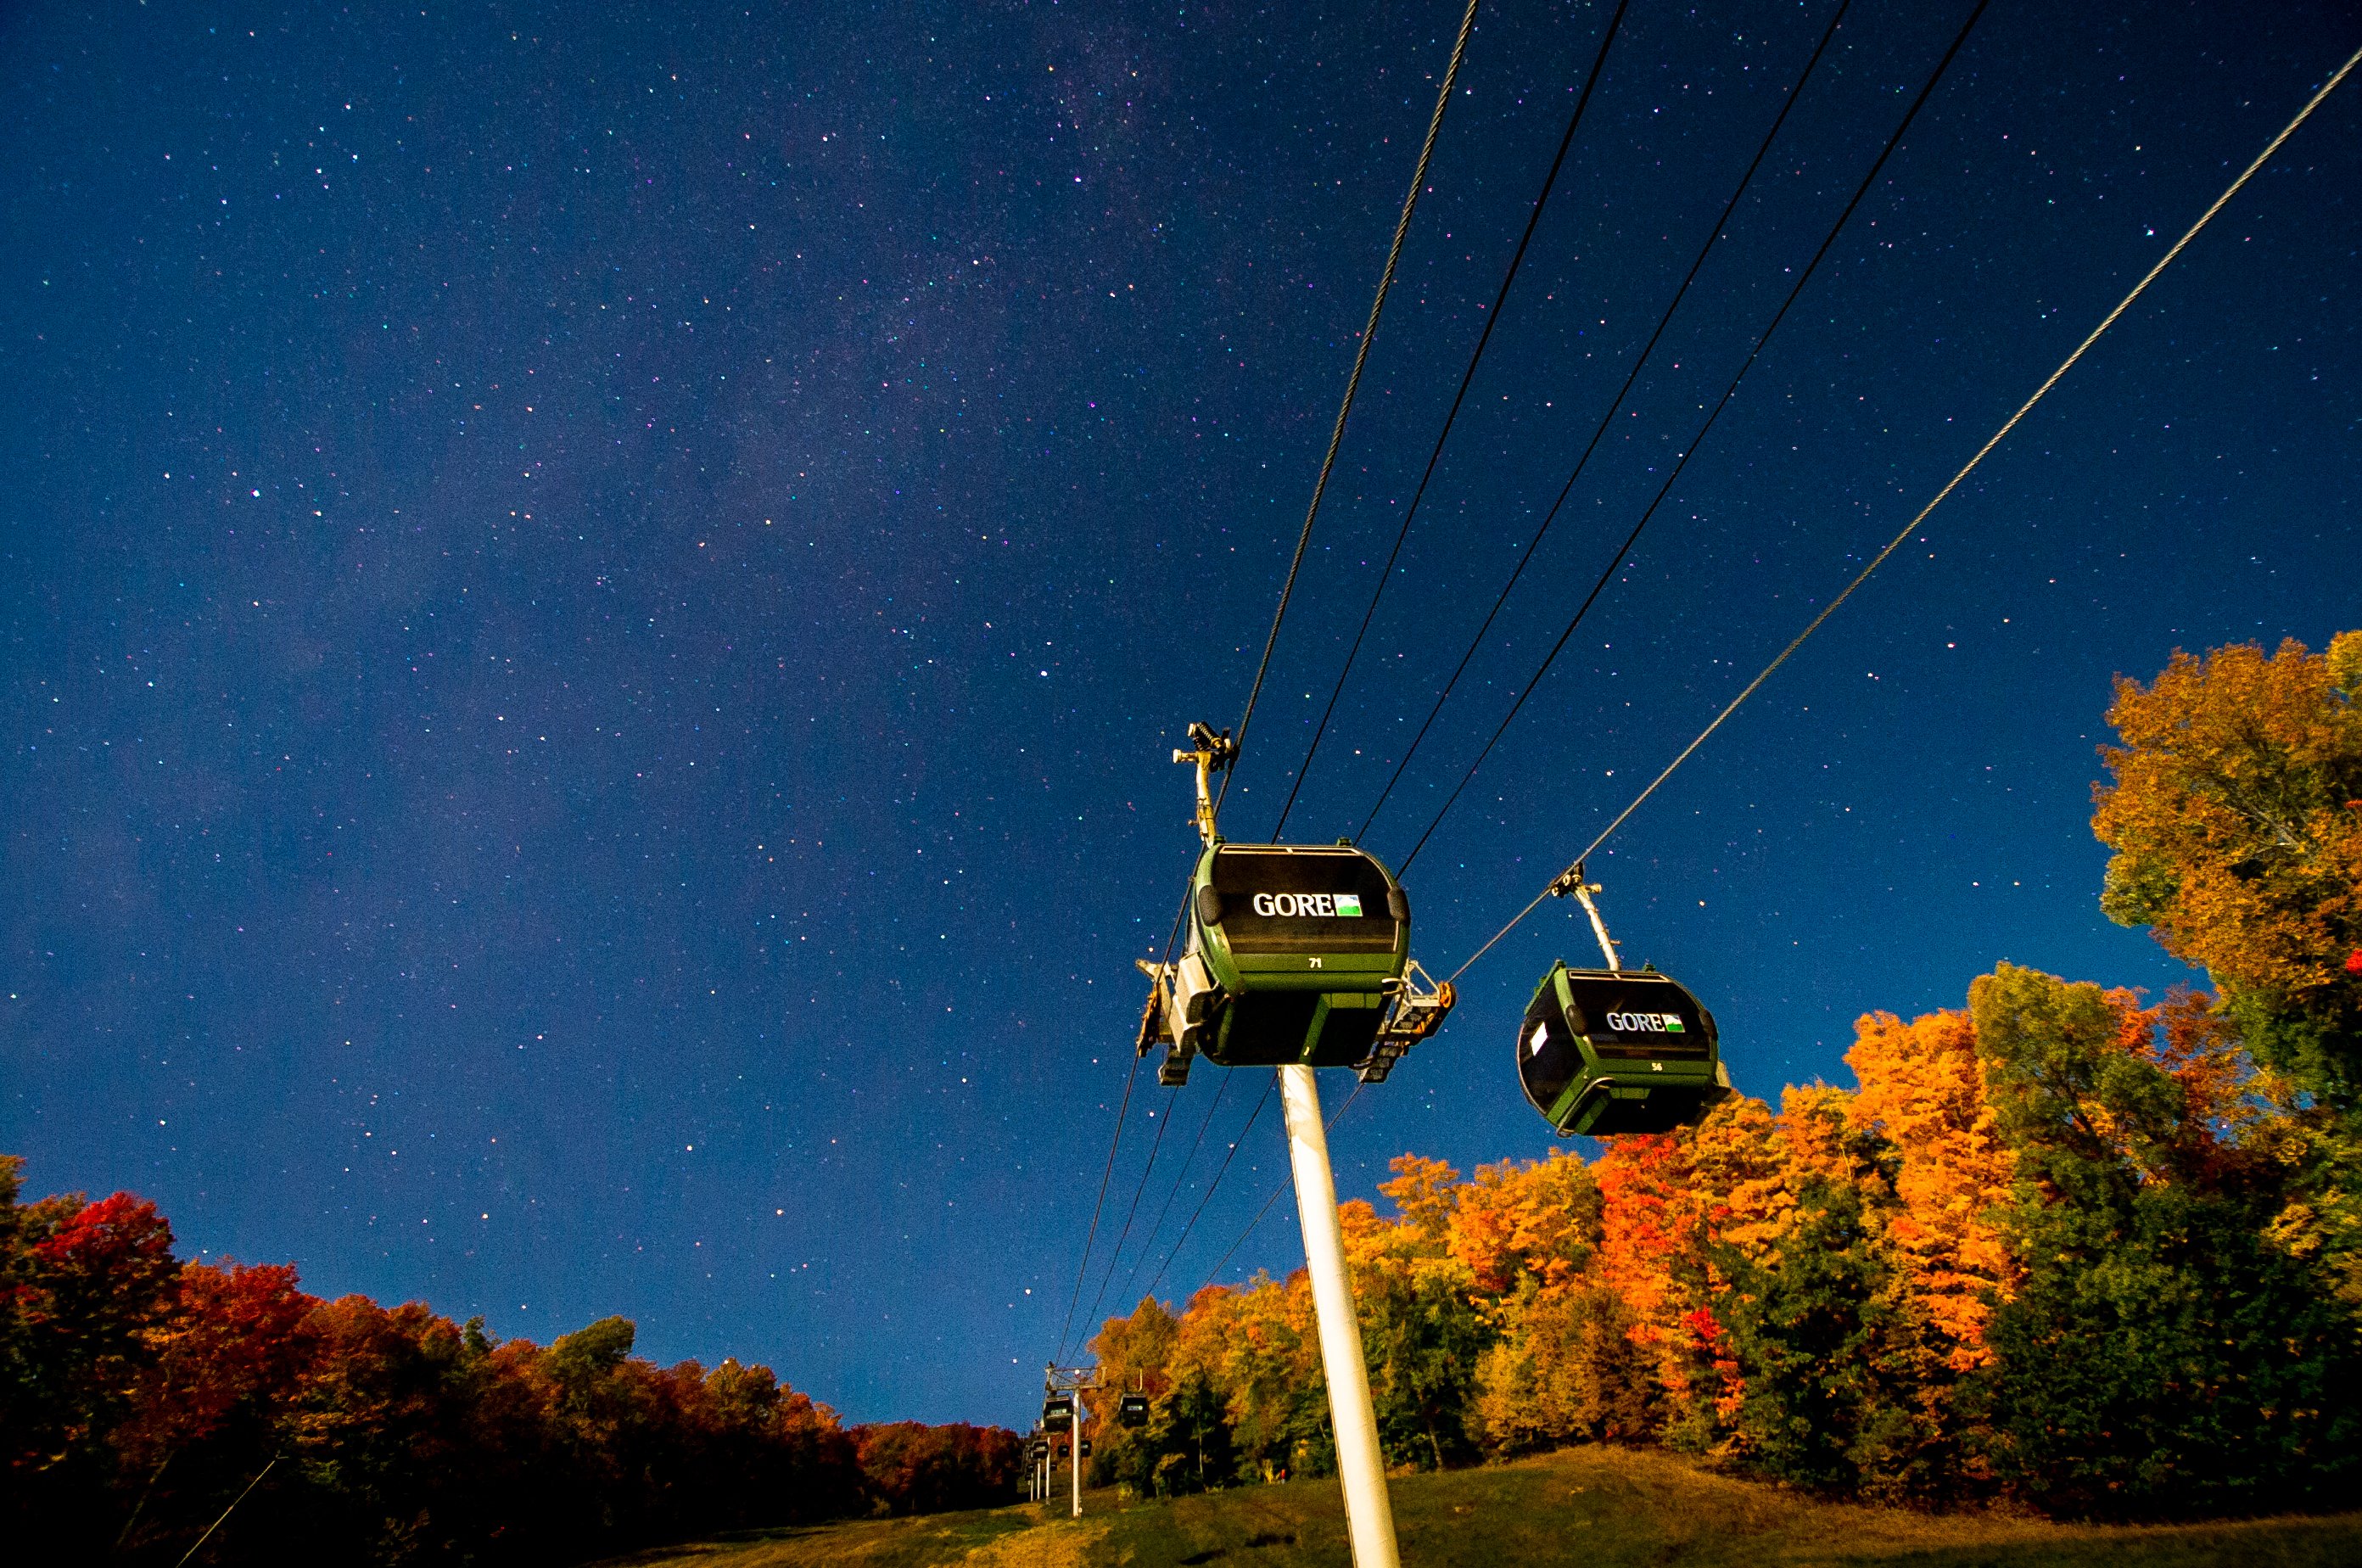
Then, the foliage came and I realized that I could combine both foliage and stars! In the first image, I used the headlights of my car to illuminate the leaves. In the second image, taken at Gore, there was a full moon which provided an enormous amount ambient light, but I was still able to get the stars in the shot.
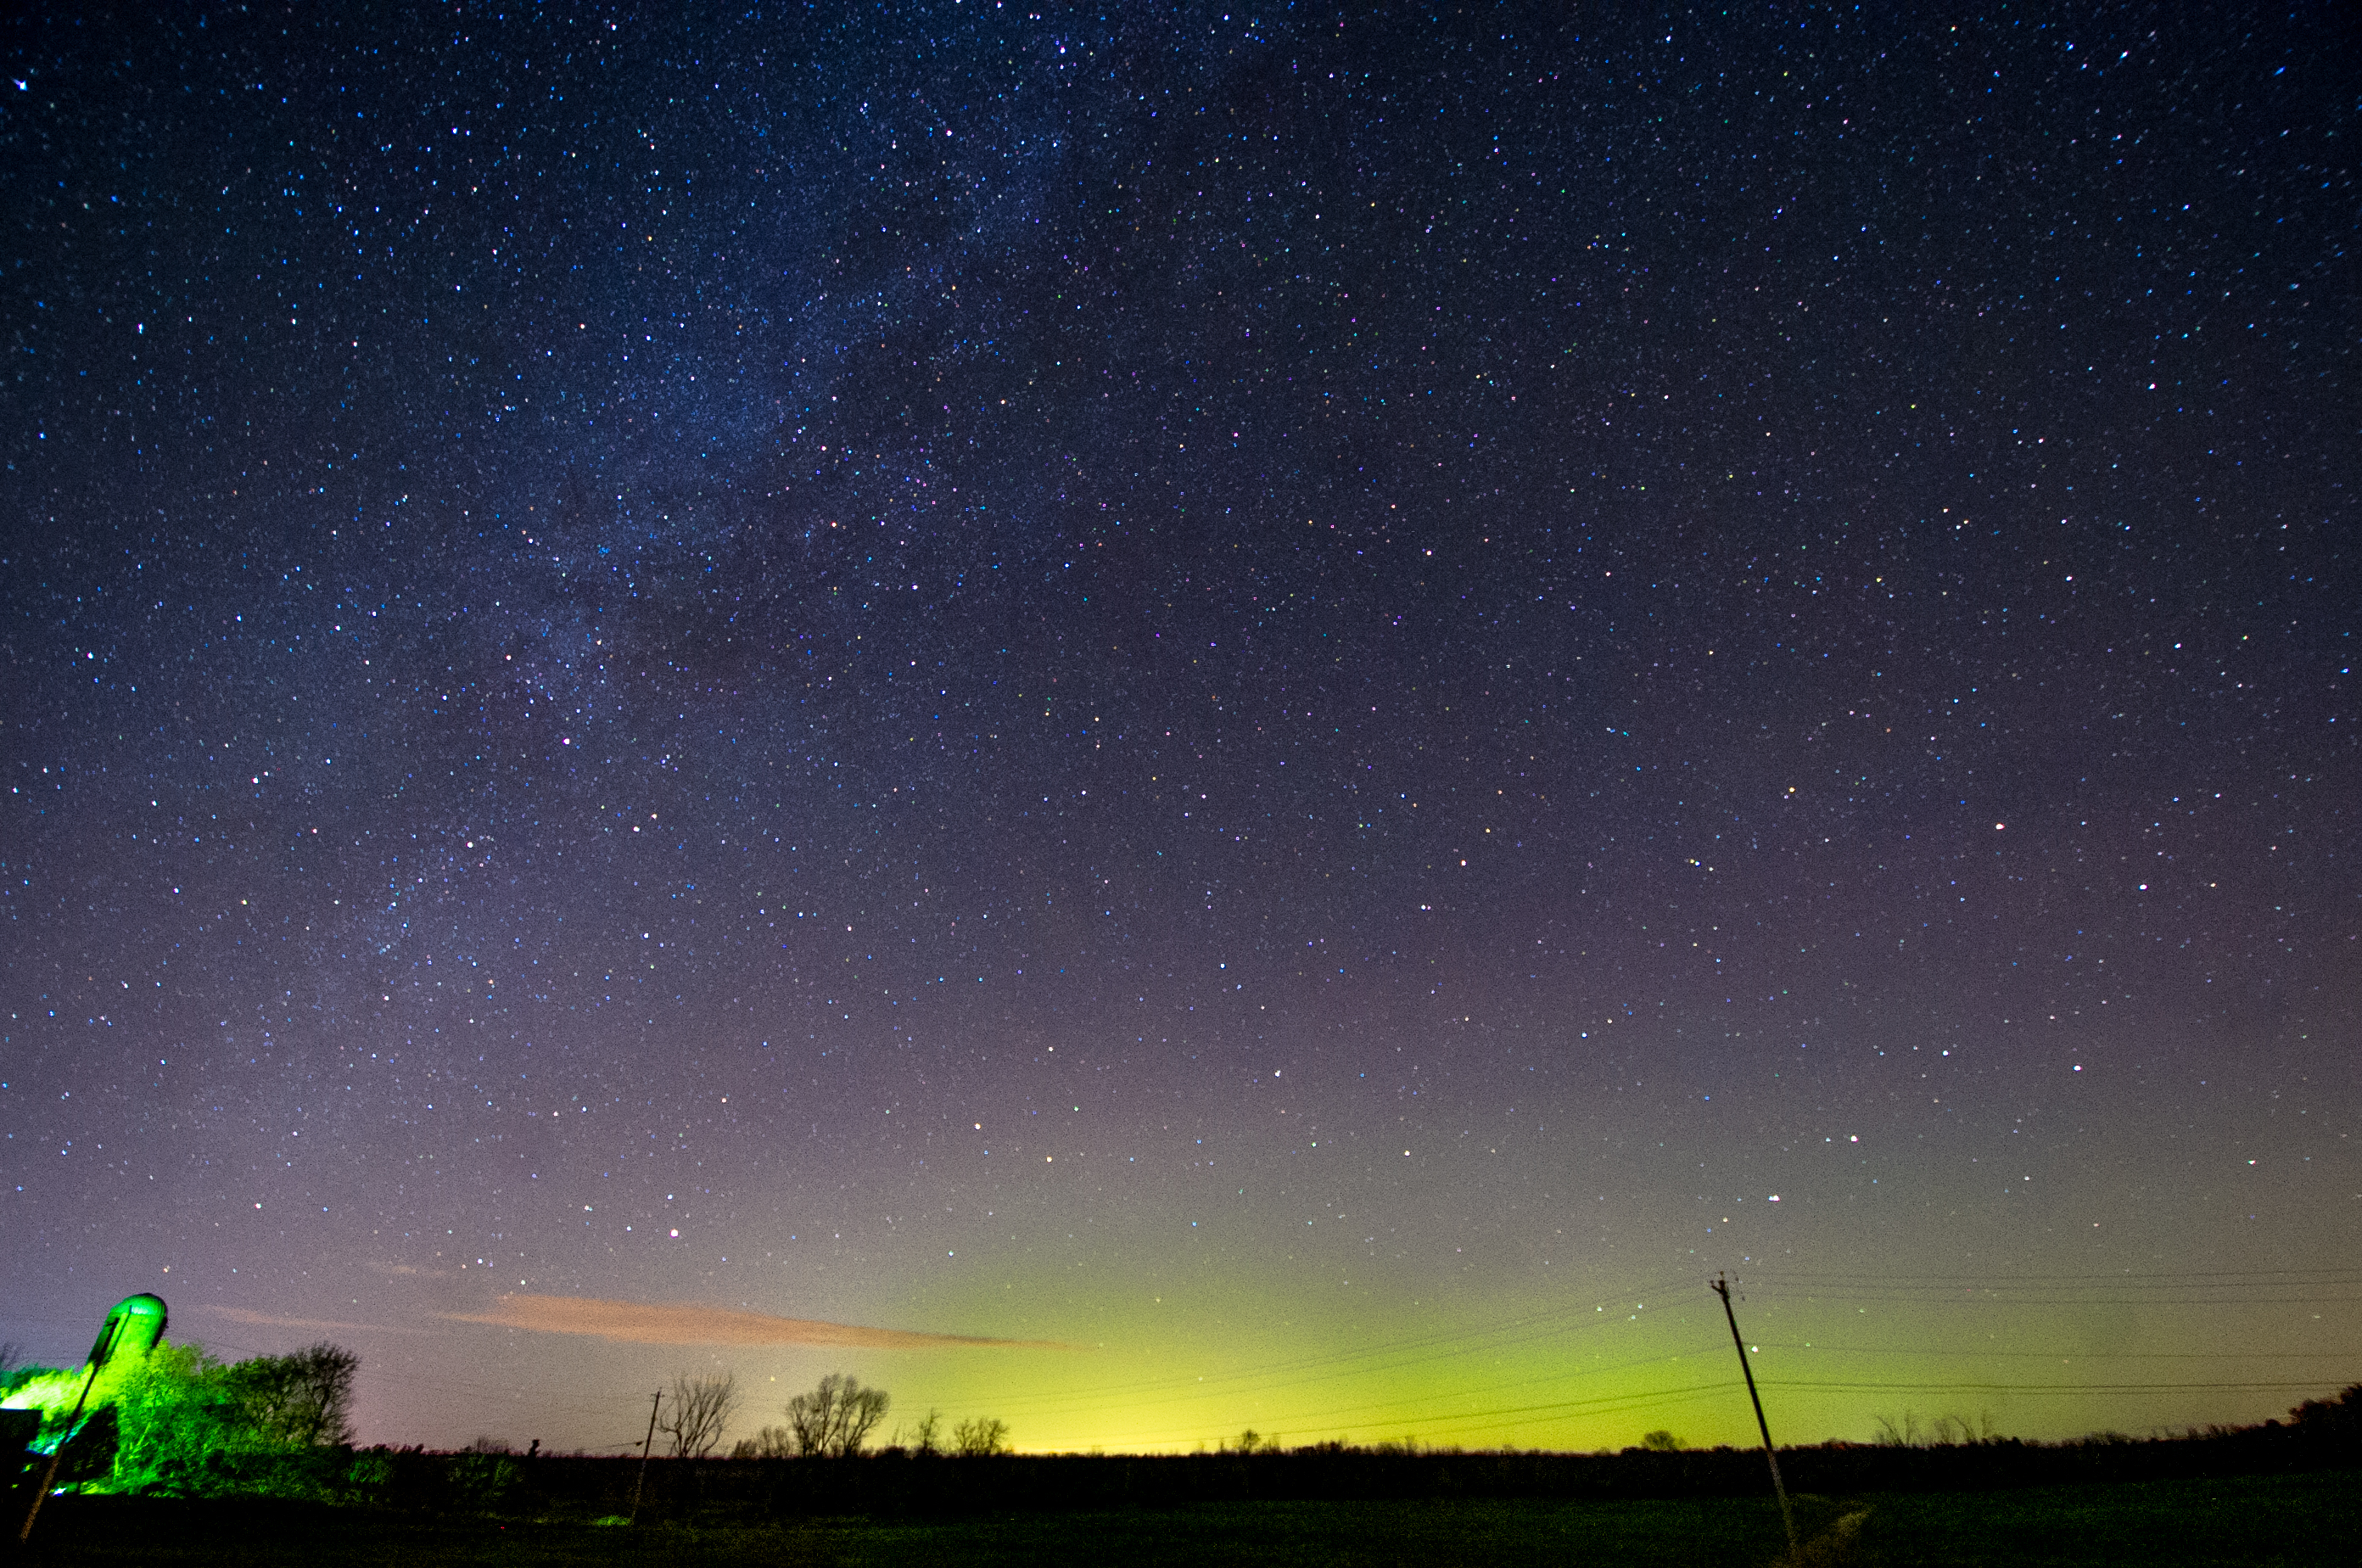
A recent goal of mine has been to see the ever-illusive Northern Lights. Cloudless nights where the aurora is active and moonlight is minimal are rare. Last month we finally had a night with ideal conditions, so I headed out of Canton a few miles up Route 68, where I saw a faint green haze on the horizon. I knew that it had to be the Northern Lights!
Photographing the night sky is actually easier than one may think. As long as you have a clear night, a decent DSLR camera (the wider angle on the lens, the better), a tripod, and the ambition to get outside at night, star photography is totally doable!
1. The first step is to do your best to get away from any ambient light. If you are staying close to home, turn off all the lights inside and outside your house. If you decide to hop in the car, try to find a big open field where you can see most of the horizon. The Light Pollution Map website is a great resource for finding the darkest night skies near you.
2. Set up your tripod and camera. Your settings on your camera should be as follows: turn the ISO up. I normally set mine between 4,000-10,000, depending on what is in the foreground. Set your aperture (f-stop) as low as it will go. The shutter speed should vary from 15-30 seconds. Anything more than 30 seconds will start to see the stars begin to move in the frame. Do your best to move the camera as little as possible when pushing the trigger. A better alternative would be to get a remote shutter, which you can find for $20-30 online. Just make sure to find one one that is compatible with your camera!
3. Northern Lights: These are tricky due to the nature of the Northern Lights and our location. Every now and then, they are visible. The aurora can be forecasted just like the weather –NOAA and aurora-service.org both offer great aurora forecasting tools. As for shooting them, the first two steps are the same, but you will need to work a little harder on the location. First, you will have to find a location with an unobstructed view to the north. Mountain tops, fire-towers, and even rooftops can be great places to shoot from.
Hopefully, this post will encourge you to get outside on the next clear night and attempt to see the night sky like never before. And if with the right equipment, you can improve your photography skills at the same time!

